Wednesday, August 31, 2011

Wordless(ish) Wednesday: beaktw(eats)

IMG_8326
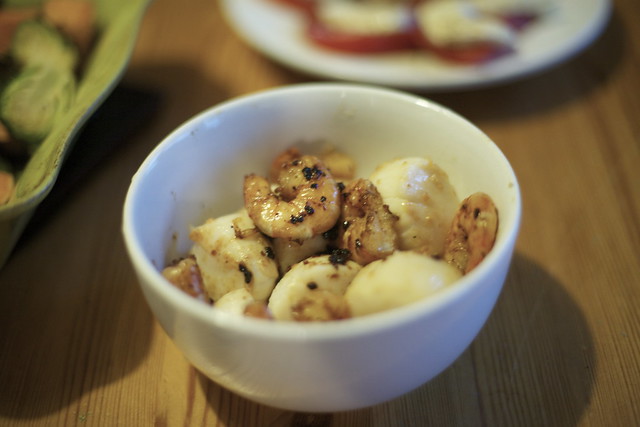
Sea scallops & shrimp in garlic butter. Recipe here.
IMG_8327
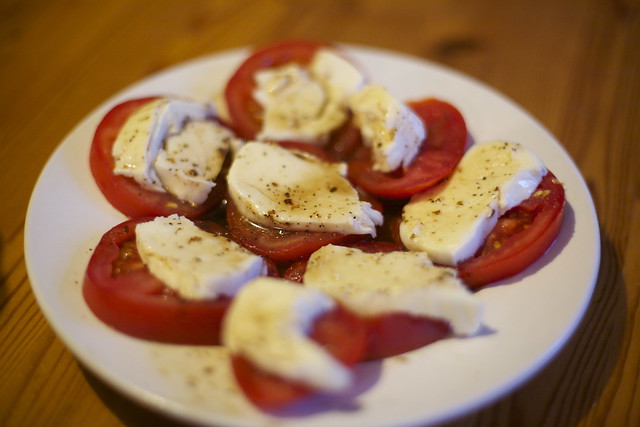
Not pretty, but yum! And I don't like fresh basil :/
IMG_8323
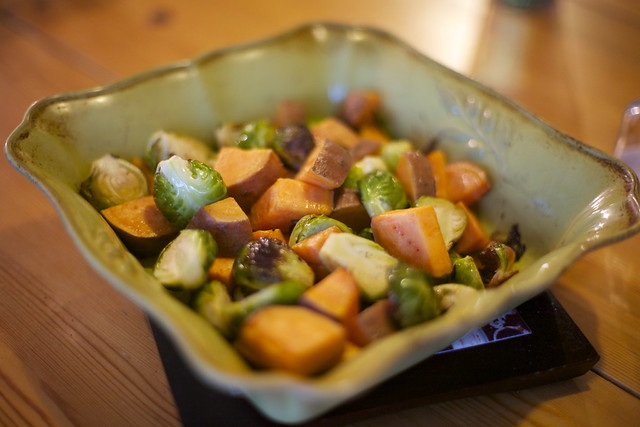
Roasted sweet potatoes & brussel sprouts. Recipe here.
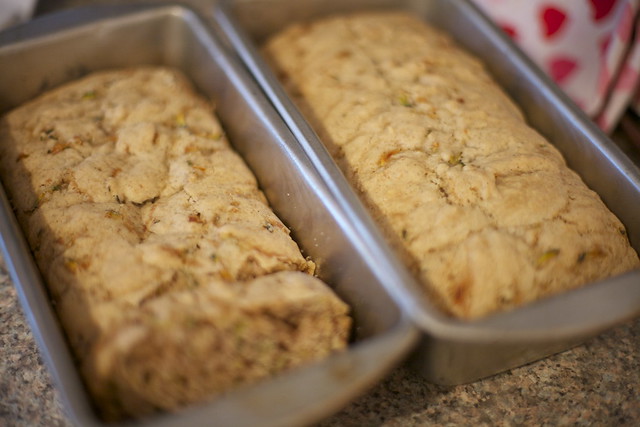
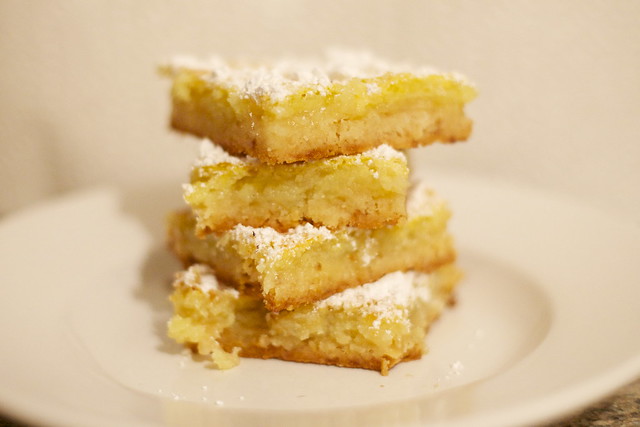
IMG_8325
Zucchini Bread

Zucchini Bread
From: Better Homes & Gardens Cookbook (my favorite cookbook for daily cooking & baking)

1-1/2 cups flour
1 tsp ground cinammon
1/2 tsp baking soda
1/2 tsp salt
1/4 tsp baking powder
1/4 tsp ground nutmeg
1 egg, beaten (I used egg substitute. Less fluffy & bit more dry but we got allergies, yo!)
1 cup sugar
1 cup finely shredded, unpeeled zucchini
1/4 cup cooking oil
1/2 cup chopped pecans or walnuts, toasted (or raisins ;) )

Preheat oven to 350°F. Grease the bottom and 12 inch up sides of an 8x4x2-inch loaf pan; set aside. In a medium bowl combine the flour, cinnamon, baking soda, salt, baking powder, and nutmeg. Make a well in center of flour mixture; set aside.

In another medium bowl combine egg, sugar, shredded zucchini, and oil. Add zucchini mixture all at once to flour mixture. Stir just until moistened (batter should be lumpy). Fold in nuts. Spoon batter into prepared pan.

Bake for 50 to 55 minutes or until a wooden toothpick inserted near center comes out clean. Cool in pan on a wire rack for 10 minutes. Remove from pan. Cool completely on a wire rack. Wrap and store overnight before slicing.

IMG_8328
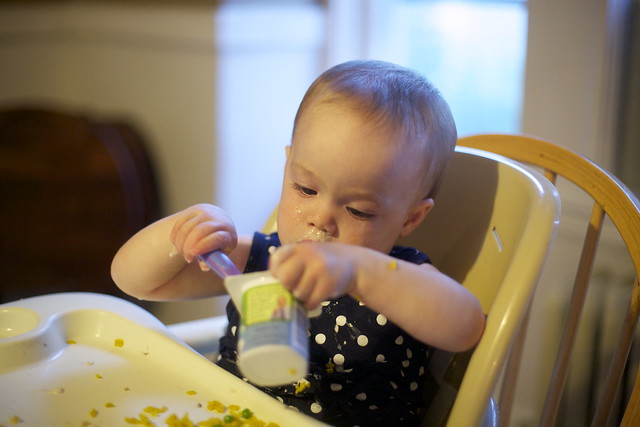
she's a lady at the dinner table :)


Tuesday, August 30, 2011

our new york city adventure. (picture heavyyyy!)

Last week Meredith and I set off an adventure to New York City. One of my oldest and dearest friends lives there now and it had been too long since we had last seen her. She treated us to a perfect three days. We went to the Central Park Zoo, rode the carousel there, ate at Shake Shack, The Doughnut Plant & Grimaldis, saw some You've Got Mail sites, went to the Children's Museum of Manhattan and rode the ferris wheel at Toys R Us in Times Square. Needless to say, we were all pretty exhausted by the end, but it was a very good time. 

Day One:
IMG_3093
IMG_3096 IMG_3099 IMG_3105
IMG_3115
IMG_3119

Day Two:
IMG_3124
IMG_3127 IMG_3129
IMG_3149
IMG_3136 IMG_3145
IMG_3166
IMG_3174
IMG_3176

Day Three:
IMG_3178 IMG_3190
IMG_3218
IMG_3191 IMG_3195


 some You've Got Mail locations:
IMG_3228 IMG_3225 IMG_3222 IMG_3121

Good times! What's your favorite thing to do NYC?


Monday, August 29, 2011

photo(1)
photo(3) photo(2) photo

How was your weekend? We had a lovely, relaxing weekend. Meredith and I were recovering from a fun, whirlwind trip to New York City (pictures to come!). We mostly stayed inside avoiding the wind and rain, feeling grateful Irene calmed down and didn't cause us any damage. We didn't even lose power. I hope you are all dry, safe and with power!

These pictures are from our post-storm walk around town. Lots of branches and leaves with a few felled trees. What's your neighborhood like? Were you hiding from the storm this weekend or far away on the opposite coast?


Friday, August 26, 2011

autumn cravings


fall cutefall comfy


Just a few weeks ago, if you had asked me if I was ready for fall I would have adamantly stated no. But all of a sudden I am eager. Between spending one too many days sweating my face off and a day spent window shopping on Newbury St, I am excited for fall. Partly, I am excited for the change of wardrobe. Partly, I am excited for the quintessential fall activities like apple picking, pumpkin patches and long walks spent kicking up crinkly leaves. I'm looking forward to seeing autumn through Meredith's eyes, now that she's a toddler.

So I will cherish the final weeks of summer, but also look forward to the crisp, cool air rolling in. But let's not talk about winter. That, I am dreading.


Click To Vote For Us @ Top Baby Blogs Directory!

Thursday, August 25, 2011

Chicken Tikka Masala & Lemon Bars

As I've said before, I love Pinterest. It's like an easy access cookbook for foods that deserve to be on This is Why You're Fat. Except the foods are so pretttty and yummmmy. So, earlier this week I tried out two new things that I had found. For dinner we had Chicken Tikka Masala and for dessert we I had lemon bars. Both turned out deliciously. Considering I didn't even have all the right spices for dinner, I lacked some of the kitchen tools for the dessert, I had never made Indian food before nor had I made lemon bars from scratch, I was pretty pleased with myself by the end of the night!

Chicken Tikka Masala
IMG_8295

Lemon Bars with a coconut crust
IMG_8305
Don't let the food processor or lemon zesting scare you! I didn't have the right tools and it worked out anyway :)

Follow the links above for the recipe, you won't regret it :)


Click To Vote For Us @ Top Baby Blogs Directory!

Wednesday, August 24, 2011

Tuesday, August 23, 2011

DIY: Watercolor Stripe T-Shirt

Even though it's starting to feel like fall is creeping it's way intn New England, one night last week I took on a very summery DIY project. I'm so happy with how it turned out. I also love when I actually do the things I've spotted on Pinterest. I followed the link from Pinterest to the tutorial here. I thought I'd add a more detailed tutorial of my own, though, because I learned a few tips that would be helpful.

1. Find an old t-shirt. I had one in my drawers that I didn't mind changing up. Check a thrift store or just go new. I used a basic Hanes undershirt.

2. Layout trash bag. Place t-shirt on top. No need to put anything inside the t-shirt. You want the watercolor to seep through to both sides.
IMG_8222

*I laid my t-shirt front facing up. My front ended up with less perfectly straight lines and a bit more spreading. The back has near perfect straight lines with less spreading. You decide with you'd prefer to be the front and lay your shirt down accordingly.

3. Get paper cup. Add nickel sized amount of acrylic paint. Fill cup about halfway up. This part is not an exact science. Mix water & acrylic until you like the color you are seeing. Keep in mind it will turn out much lighter than it looks in the cup. Also, fill a cup with just water.
IMG_8223

4. At this point, gather a ruler (or something straight) and a paintbrush.

5. Starting at the bottom, paint a straight line of just water across your t-shirt. Once, you've soaked a straight line, start painting with the watercolor paint. Again, the painting is not an exact science. Paint it so you like how it looks.
IMG_8224
IMG_8225
IMG_8228 

*It is important to know that the paint will spread a lot, but it won't seem like it at first. It starts out looking like a boring straight line, but does spread. Trust me.
*If you don't want your paint to spread very much, use a hair dryer to slow it down. This suggestion found here.

6. Once you are done with the first stripe, move up. I put about two inches between each stripe. Again, this is not exact. Use your own judgment. I used a ruler between each stripe so I could keep somewhat straight. Fortunately, the spreading is very forgiving, so it's hard to mess this up.
IMG_8227

7. Continue all the way up the t-shirt. The tutorial I followed included the sleeves in the stripes up top. It results in a chevron-ish design on the sleeve. If you'd prefer, you could do separate stripes on the sleeves. Start at the bottom of each sleeve and work your way up, like the main body of the shirt.
IMG_8229


8. Let dry completely. I left it laying on the trash bag for most of the drying. I started to get impatient and threw in the in dryer to get it completely dry. Once it was dry, I let it "cure" for a couple days. I was scared to wash it, but when I did it was totally fine! No fading or anything. I simply washed it with like colors and our typical detergent. Here's the final product:
IMG_8303
You can see it on me here.