Showing posts with label diy. Show all posts

Friday, November 18, 2011

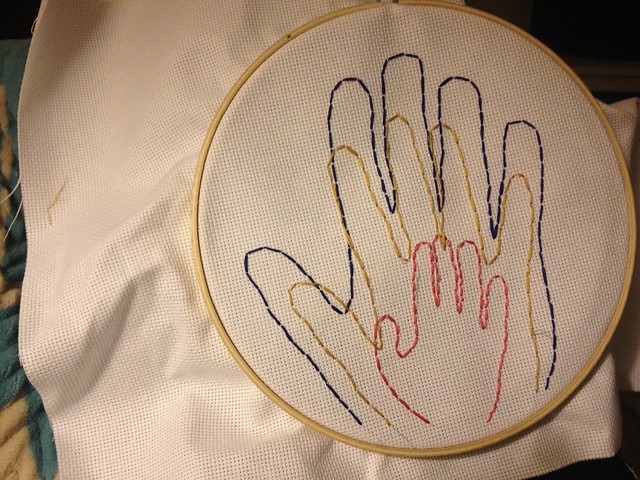
Embroidered Hands: An easy DIY


A few weeks ago I saw this image on Pinterest and knew I had to make it. Last night I did. I have to say, it was really easy and I've never done any needlework like this before. It took me about two hours. I did it while I watched Private Practice (does anyone still watch it? I haven't all season. Gosh, it's just so dramatic). Anyway. I highly recommend this craft for anyone to try! I'm hoping to do one every year to document the growth of our family.

Materials:
Embroidery hoop
Embroidery needle
Embroidery fabric (bought a small roll of it at Michael's. maybe you can use other kinds of fabric?)
Embroidery floss (one color per hand you'll stitch)
Pencil
Optional:
Paper
Acrylic craft Paint
Paintbrush

Directions:
1. Place fabric into embroidery hoop, making sure it's nice and tight.
2. If you aren't doing a wiggly baby, you can skip to step 4. A baby (at least mine) won't sit still long enough to trace her hand so this was my solution. Paint baby's hand. Do it nice and thick. Place baby's hand on white paper to make a print. I made several prints with the first coat of paint until I got a print that I could work with.
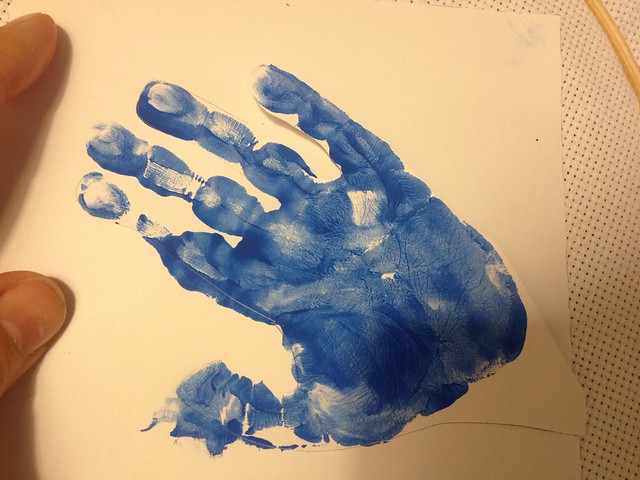
3. Cut out handprint once dry.
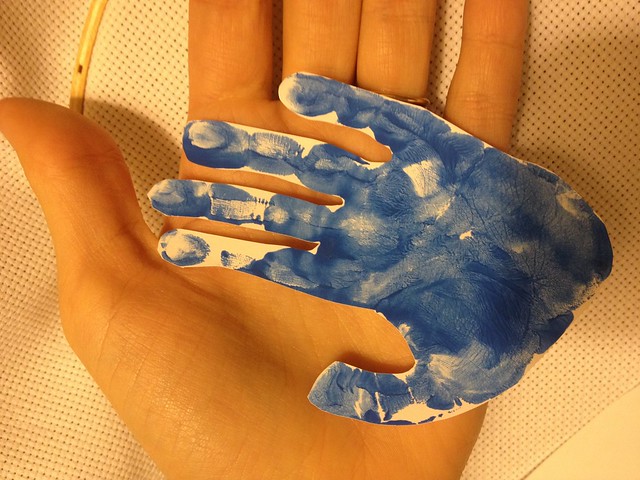
4. Trace hand (or handprint) onto fabric.
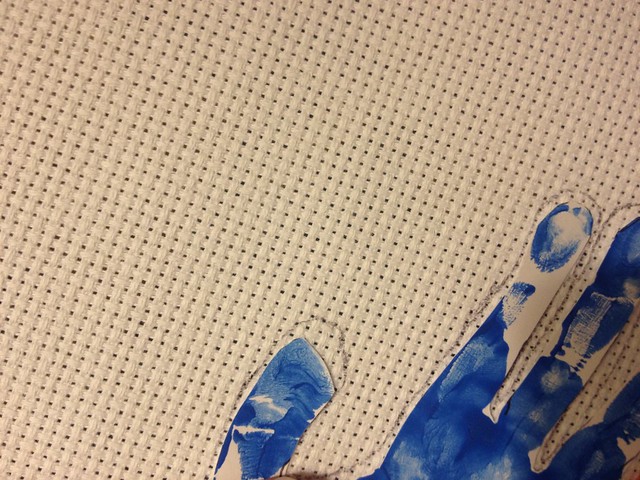
5. Thread needle.

6. Begin stitching. I used this tutorial and used the backstitch. It was very simple and quick.
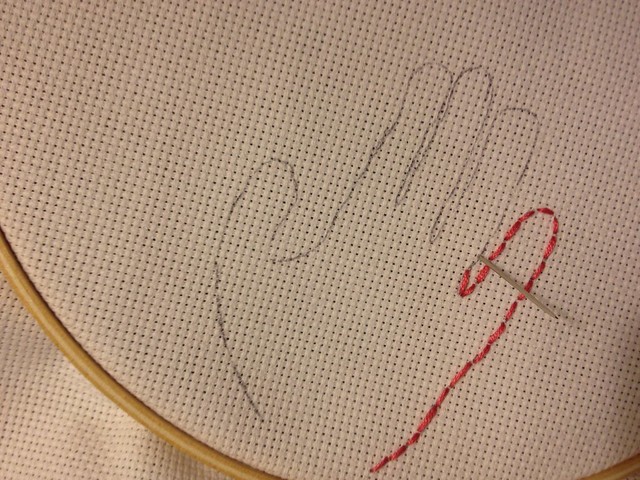
7. Stitch all around the hand until complete
8. Trace next hand, switch colors in your needle and stitch through completion.
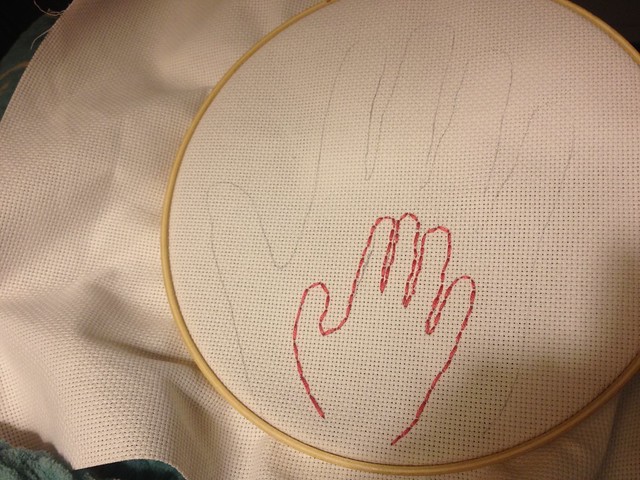
9. Repeat these steps for all hands.

10. Make ready for display. You could leave it in the hoop or transfer it to a frame. I haven't decided what I'm doing yet. I will probably leave it in the hoop and make it part of a gallery wall I'm working on. Oh, and I still need to add the year. I will likely just add it in sharpie.

Please let me know if you try it! I had so much fun making it!

PS. apologies if I used the wrong terminology for this stuff :)


Tuesday, August 23, 2011

DIY: Watercolor Stripe T-Shirt

Even though it's starting to feel like fall is creeping it's way intn New England, one night last week I took on a very summery DIY project. I'm so happy with how it turned out. I also love when I actually do the things I've spotted on Pinterest. I followed the link from Pinterest to the tutorial here. I thought I'd add a more detailed tutorial of my own, though, because I learned a few tips that would be helpful.

1. Find an old t-shirt. I had one in my drawers that I didn't mind changing up. Check a thrift store or just go new. I used a basic Hanes undershirt.

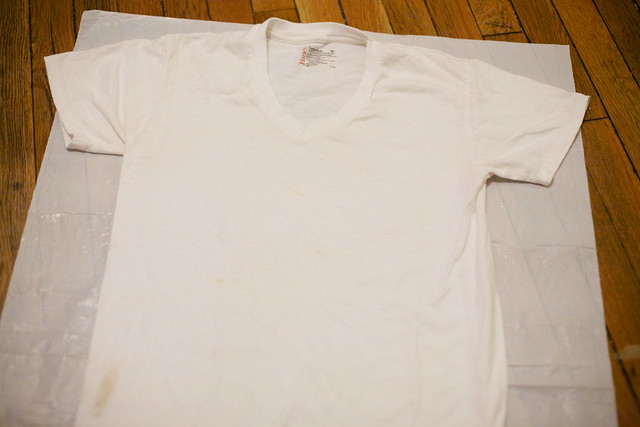
2. Layout trash bag. Place t-shirt on top. No need to put anything inside the t-shirt. You want the watercolor to seep through to both sides.
IMG_8222

*I laid my t-shirt front facing up. My front ended up with less perfectly straight lines and a bit more spreading. The back has near perfect straight lines with less spreading. You decide with you'd prefer to be the front and lay your shirt down accordingly.

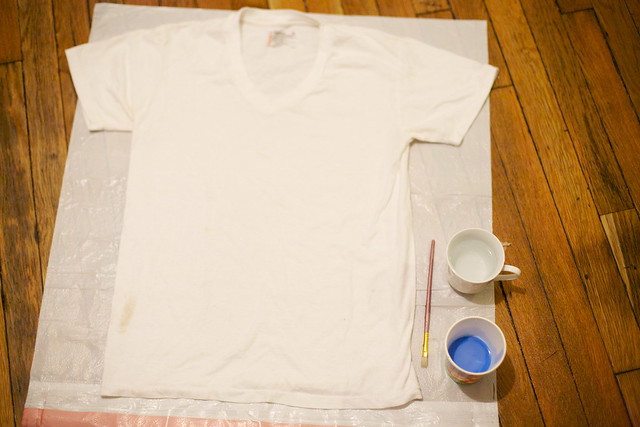
3. Get paper cup. Add nickel sized amount of acrylic paint. Fill cup about halfway up. This part is not an exact science. Mix water & acrylic until you like the color you are seeing. Keep in mind it will turn out much lighter than it looks in the cup. Also, fill a cup with just water.
IMG_8223

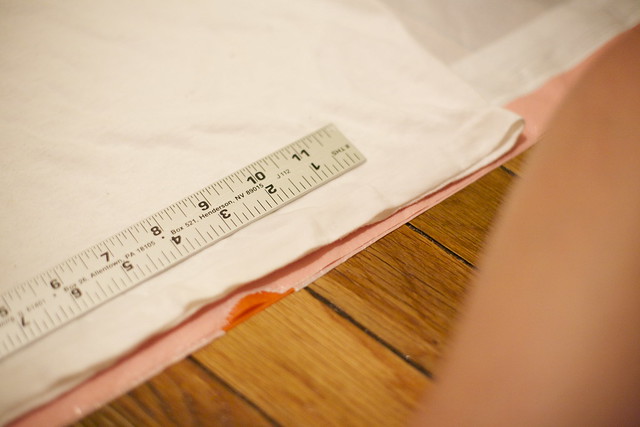
4. At this point, gather a ruler (or something straight) and a paintbrush.

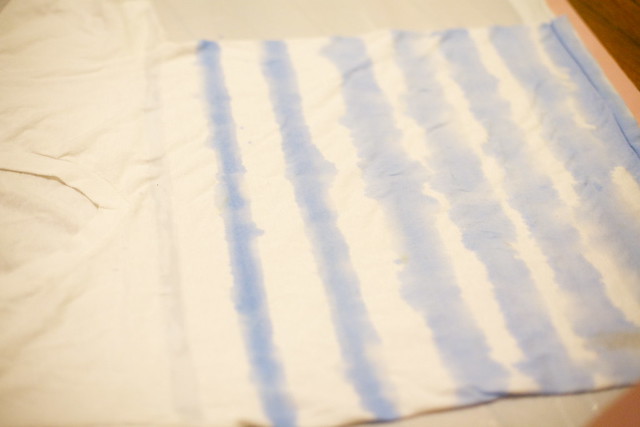
5. Starting at the bottom, paint a straight line of just water across your t-shirt. Once, you've soaked a straight line, start painting with the watercolor paint. Again, the painting is not an exact science. Paint it so you like how it looks.
IMG_8224
IMG_8225
IMG_8228 

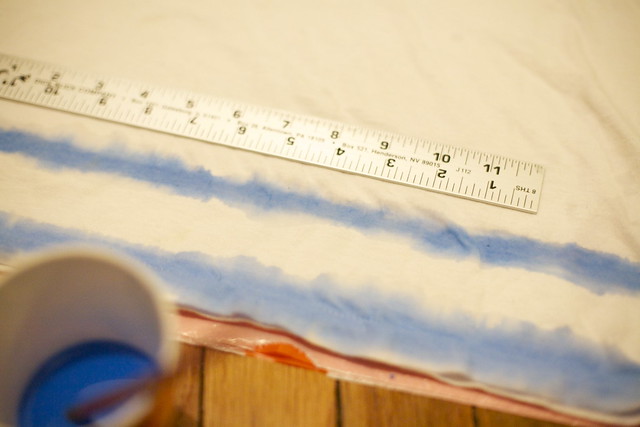
*It is important to know that the paint will spread a lot, but it won't seem like it at first. It starts out looking like a boring straight line, but does spread. Trust me.
*If you don't want your paint to spread very much, use a hair dryer to slow it down. This suggestion found here.

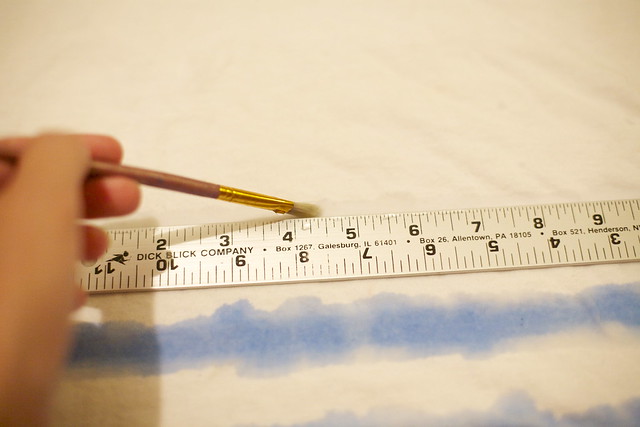
6. Once you are done with the first stripe, move up. I put about two inches between each stripe. Again, this is not exact. Use your own judgment. I used a ruler between each stripe so I could keep somewhat straight. Fortunately, the spreading is very forgiving, so it's hard to mess this up.
IMG_8227

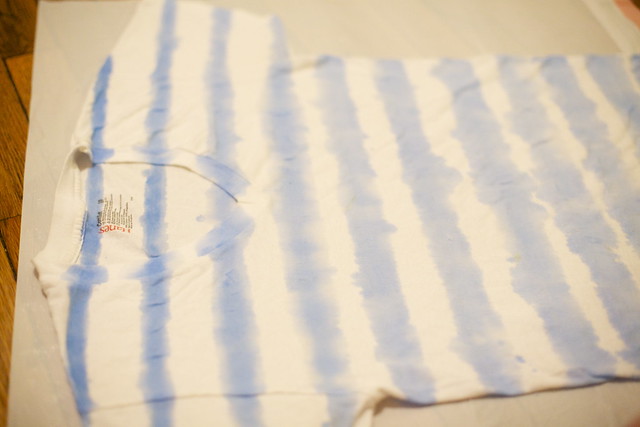
7. Continue all the way up the t-shirt. The tutorial I followed included the sleeves in the stripes up top. It results in a chevron-ish design on the sleeve. If you'd prefer, you could do separate stripes on the sleeves. Start at the bottom of each sleeve and work your way up, like the main body of the shirt.
IMG_8229


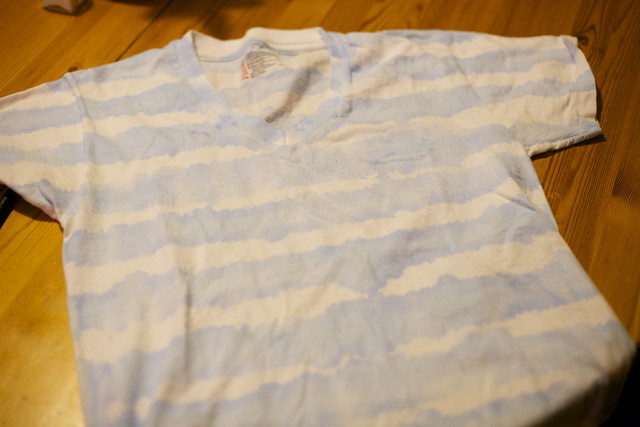
8. Let dry completely. I left it laying on the trash bag for most of the drying. I started to get impatient and threw in the in dryer to get it completely dry. Once it was dry, I let it "cure" for a couple days. I was scared to wash it, but when I did it was totally fine! No fading or anything. I simply washed it with like colors and our typical detergent. Here's the final product:
IMG_8303
You can see it on me here.