
1. Find an old t-shirt. I had one in my drawers that I didn't mind changing up. Check a thrift store or just go new. I used a basic Hanes undershirt.
2. Layout trash bag. Place t-shirt on top. No need to put anything inside the t-shirt. You want the watercolor to seep through to both sides.
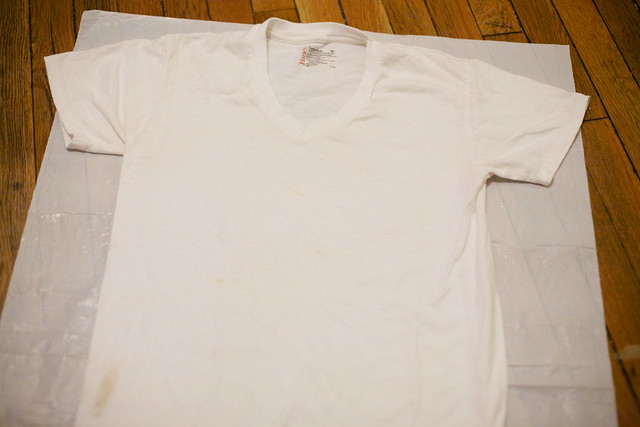
*I laid my t-shirt front facing up. My front ended up with less perfectly straight lines and a bit more spreading. The back has near perfect straight lines with less spreading. You decide with you'd prefer to be the front and lay your shirt down accordingly.
3. Get paper cup. Add nickel sized amount of acrylic paint. Fill cup about halfway up. This part is not an exact science. Mix water & acrylic until you like the color you are seeing. Keep in mind it will turn out much lighter than it looks in the cup. Also, fill a cup with just water.
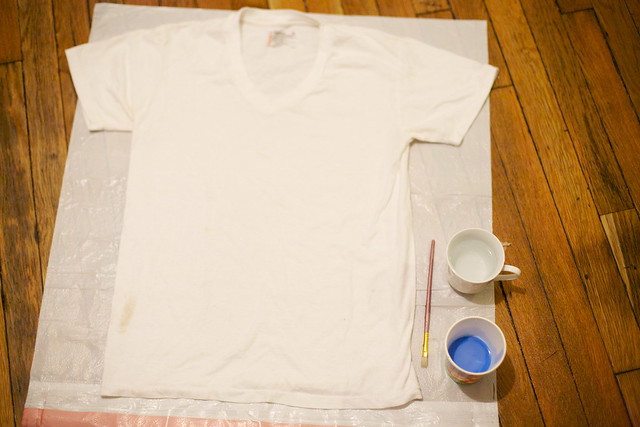
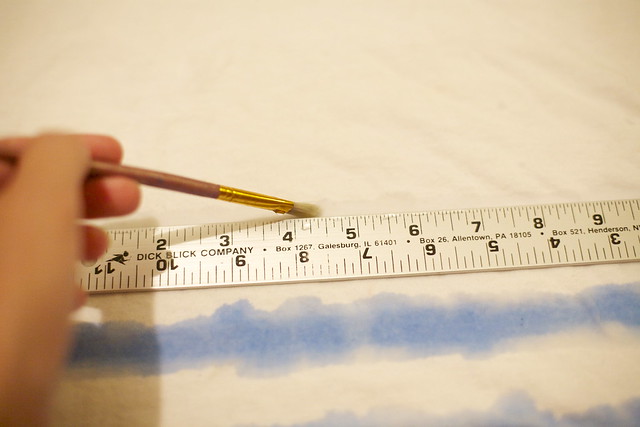
4. At this point, gather a ruler (or something straight) and a paintbrush.
5. Starting at the bottom, paint a straight line of just water across your t-shirt. Once, you've soaked a straight line, start painting with the watercolor paint. Again, the painting is not an exact science. Paint it so you like how it looks.
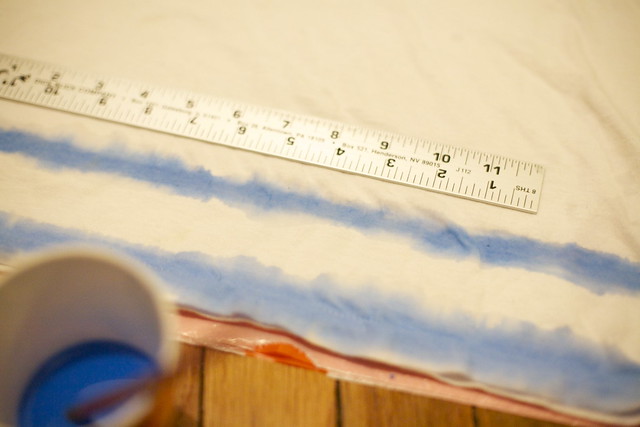
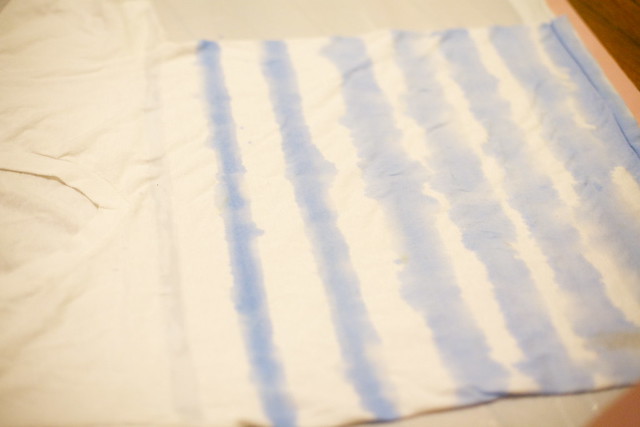
*It is important to know that the paint will spread a lot, but it won't seem like it at first. It starts out looking like a boring straight line, but does spread. Trust me.
*If you don't want your paint to spread very much, use a hair dryer to slow it down. This suggestion found here.
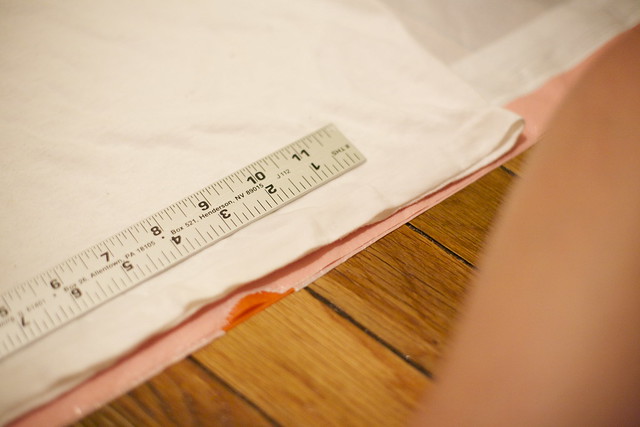
6. Once you are done with the first stripe, move up. I put about two inches between each stripe. Again, this is not exact. Use your own judgment. I used a ruler between each stripe so I could keep somewhat straight. Fortunately, the spreading is very forgiving, so it's hard to mess this up.
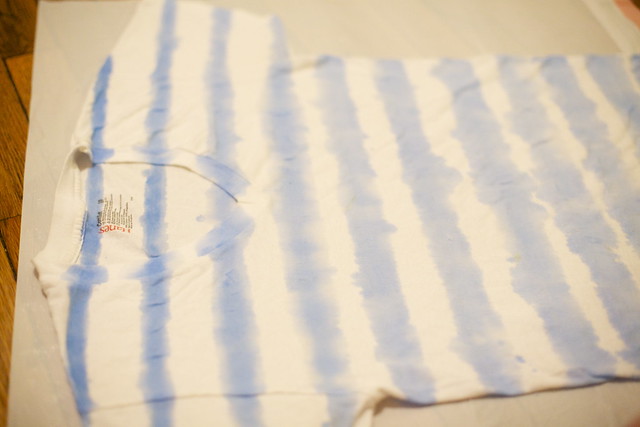
7. Continue all the way up the t-shirt. The tutorial I followed included the sleeves in the stripes up top. It results in a chevron-ish design on the sleeve. If you'd prefer, you could do separate stripes on the sleeves. Start at the bottom of each sleeve and work your way up, like the main body of the shirt.
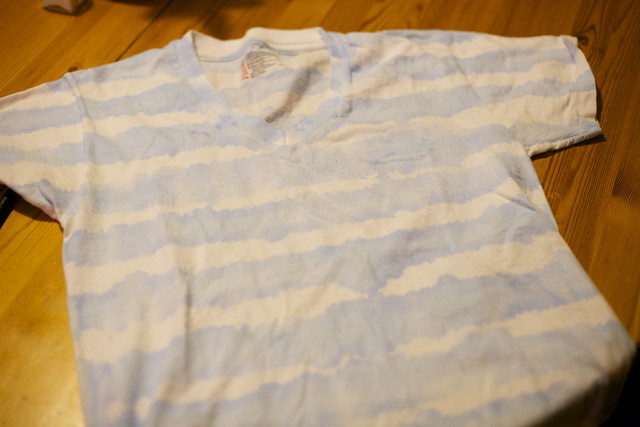
8. Let dry completely. I left it laying on the trash bag for most of the drying. I started to get impatient and threw in the in dryer to get it completely dry. Once it was dry, I let it "cure" for a couple days. I was scared to wash it, but when I did it was totally fine! No fading or anything. I simply washed it with like colors and our typical detergent. Here's the final product:
You can see it on me here.

6 comments:
very cool and easy idea. i like the way yours turned out, a lot.
fun DIY! i thought it looked great on you. like something j.crew would charge $60 for! ;)
sounds so easy! I can't wait to try this out this weekend. If it goes well I'll let you know, ha.
that's awesome!! I am now pinning this on my crafty board. haha! Gotta love pinterest. :)
Love your crafty self!
Gave you some bloggy award love on my blog today...you are, after all, the reason I even have my little blog!
omg! this is the coolest! I'm going to have to give it a try!!!
Post a Comment